咨询热线:86-755-8484 3866
热门关键字
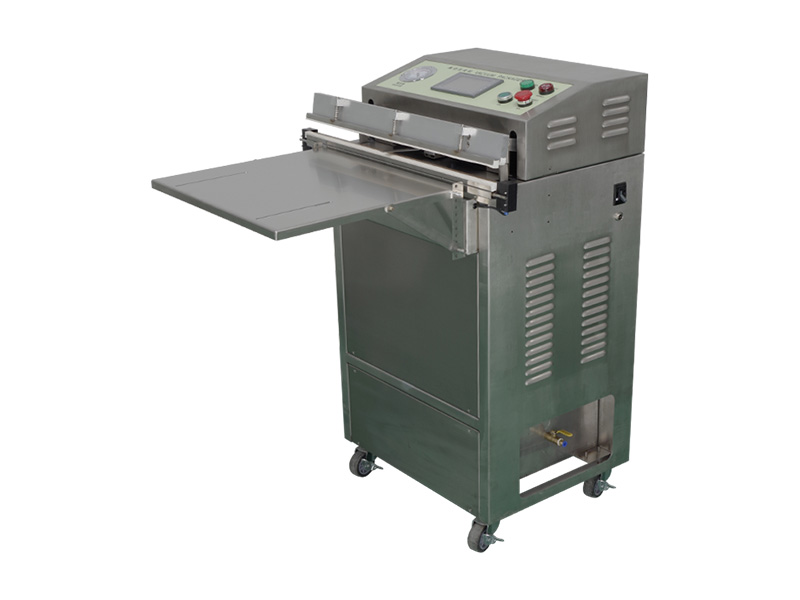
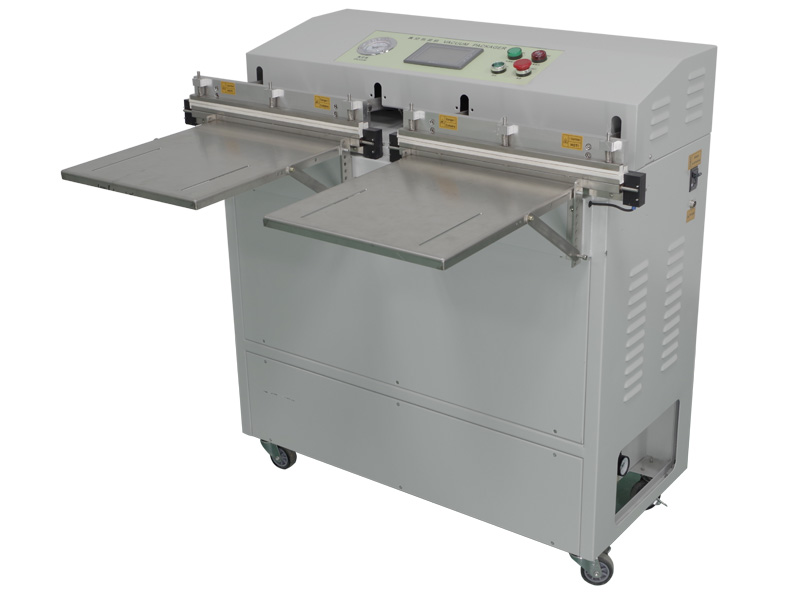
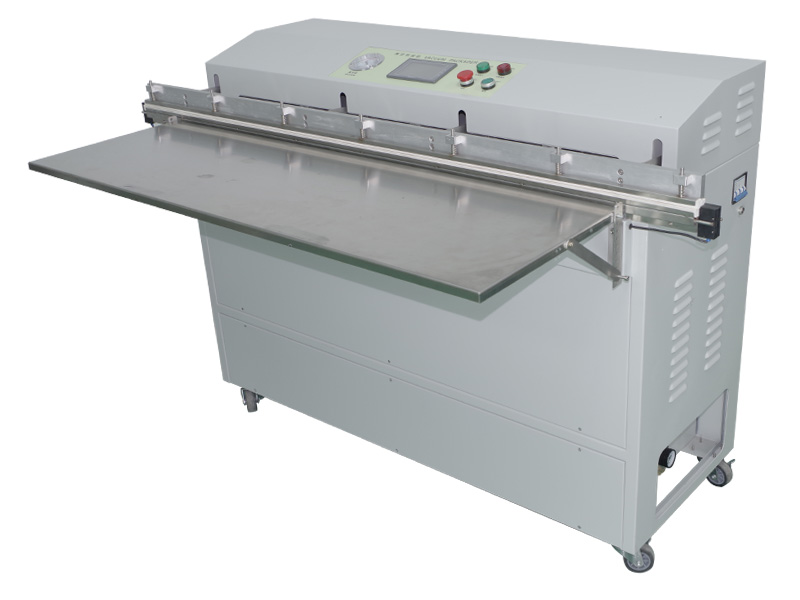
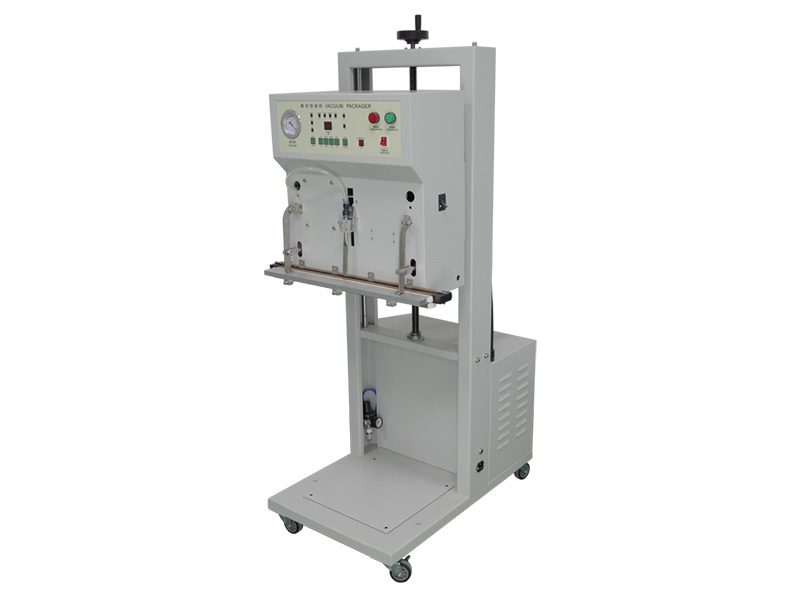
Company Album
About Us
QQ:308731219
1549546121
3193932135
网址:www.thecrunchywife.com
诚信通:szjzd888
邮箱:84887961@163.com
dg81501185@163.com
深圳锦圳达机械设备有限公司 版权所有© Copyright 2017 技术支持:东莞网站建设


 中文版
中文版 英文版
英文版